Translate

Showing posts with label terrain. Show all posts

Monday, May 18, 2020

Lunch Break Hobby Time, Part V


Nearly five years ago, I made a few wargaming hills while I was working on a (unfortunately abandoned) Peninsular War force. I recently modified them by adding a few sections of – wait for it – Italian seasoning to add a few interesting patches.


This in turn inspired me to use up the remaining insulation foam I’ve had sitting around since 2015. With a trusty little steak knife, I carved out a few more hills over my last several lunch breaks. The next steps are where I’m stuck: trying to remember what exactly I did last time (this is why I write things down now). Thankfully I did a post about them so that helps quite a bit. It’s also starting to come back to me as well...which is quite nice.

Sunday, April 19, 2020

Lunch Break Hobby Time, Part IV


As you might've seen in my last post, I was going to try gluing part of a dryer sheet to add texture to my A-frame tents. I tried it and was most unhappy with the results.


Even with white Contrast paint, I think it looks awful. The texture is much too large for that scale and makes it look too weird. That base is also way too big (but it's what I had on hand).


So, I've pulled the dryer sheet off and will be starting from the beginning again. Ben from Weasel Miniatures suggested that I try Kleenex (instead of a paper towel) and watered down PVA glue so I'm going to give that a try. 


Cutting up the Kleenex was a bit therapeutic, to be honest. But since this is going to be a bit of a messy endeavor, I'm going to wait until one of my days off to tackle it when I have the time to spare.

While it's frustrating that my initial idea didn't work out, it was worth a shot. I'm learning from my failure here and learning from it. I feel like that's a good lesson for life in general. 


Saturday, April 18, 2020

Lunch Break Hobby Time, Part III


While taking out the trash last week, two bits of packaging for our new exercise bike fell out. I instantly had an idea to make A-frame tents out of them. I've been using a lot of my break time to work on them and I think the project is coming along nicely. 


I measured 2 inches and made the appropriate marks. 


The dimensions aren't perfect, but I figure they're good enough for my purposes. Plus I think I'll mount them onto individual bases so that should help with the height a bit.


For the tent flaps, I traced the outline onto some thin bits of cardboard that came with our cats' food. 


Voila! I'll probably cut some flaps open to give it a more realistic effect but we'll see what happens. 

Now, there are two methods I'm thinking of trying from here for texture. One involves a dryer sheet, and the other a paper towel and heavily watered down PVA glue.

Saturday, July 11, 2015

Over the Hills and Far Away...


Greetings all! It's been a while since I last posted, and I do sincerely apologize for that. Things have been busy and I've not had the time to work on much of anything until recently.

I've been on a terrain kick these last few days, and I'd like to show off my latest creation: stylized wargaming hills!


I'm currently building a Napoleonic Peninsular War force, which means I'll needs quite a bit of terrain to go along with my troops (some of whom can be seen above). 


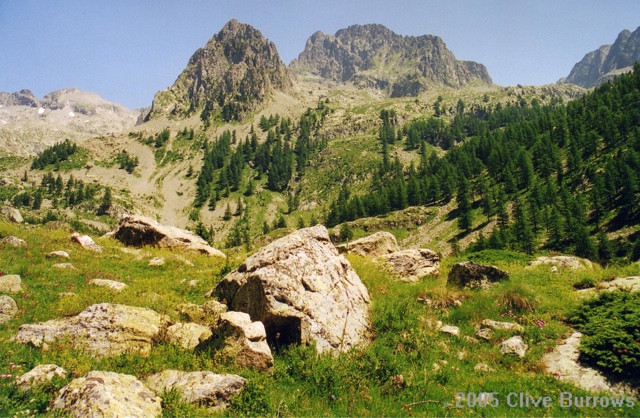
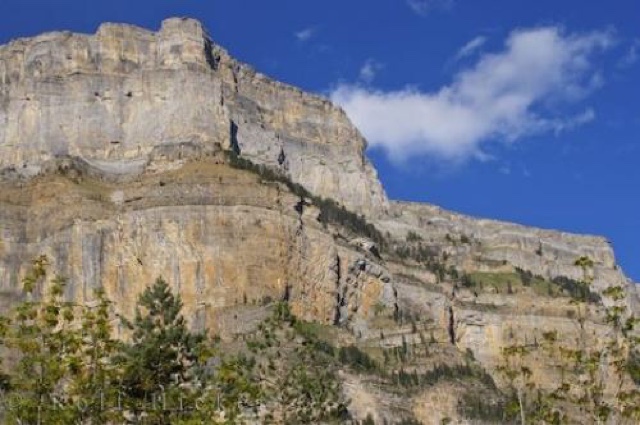
As you can see above, stylized wargaming hills actually work pretty well for Spain! So I tried to base my terrain off these images as best I could.


It all became with a board of pink insulating foam. Unlike when I was living in California, this stuff is readily available in Virginia. I followed (as best I could with my given supplies) the tutorial put together by the ever-helpful Terrain Tutor on YouTube. The video I used can be found here: http://youtu.be/JX1I4M7V2Eg

Using a steak knife, I made cuts into the foam and gradually worked it until I was satisfied.


Once the top piece was cut out in the same manner, I used white glue and stakes (made from one of the hundreds of wooden coffee stirrers I've collected over the years) to connect the two pieces.

After adding texture and priming, the piece was painted using acrylic craft paint and given several black washes. This done, static grass and small tufts were added. Once sealed, this was the result:


Considering this was the first time I've worked on something like this, I think it turned out pretty well. So well that I made two additional pieces to accompany this one.


Thanks for reading! Any questions or comments? Please comment and I'll respond.

Thursday, March 20, 2014

Tutorial: Rubble

Ever find that you need some rubble for terrain or a figure base? I recently did and employed a method my friend Ben taught me a few years ago. It is my hope that this short tutorial will help you to create exactly what you need for your next urban warzone project. We'll be focusing on using cork for figure bases today, and I think you'll find that it's quite easy!

First, you need some cork. Craft stores sell it fairly cheaply but you can also get it for free if you know where to look. For instance, I got this lot after a reception at my museum the other night. Have I mentioned that it pays to be a scavenger in this hobby? :) Anyway, these corks should be enough to last me a while. 


Start breaking up the cork with a pair of pliers. The more variety in size the better...remember that there's no uniformity when the side of a building has been obliterated by an 88mm shell from a Tiger tank.


That being said, you don't want the chunks to be too big. It all depends on the model and base size. Play around with it and find whatever size works best for your project.


After you think you have enough chunks of cork, it's time to glue them onto the base. Regular white glue will work for this, although I used some Games Workshop PVA glue (it's basically the same thing). You can see how I've glued the cork/rubble onto the bases of these Minas Tirith warriors below. This will eventually represent the ruins of Osgiliath...but more on that in another blog post.


You want to let the glue dry before proceeding. Just to be safe, I set the figures out overnight and sprayed them with Dullcote in order to add a little more stability. This is purely optional...it just made me feel better. 

Afterwards you can paint the cork in a primer color and then detail to your heart's delight. Be gentle though, as some of the cork may come loose during this process.

That's it! Simple, eh?


Just as a point of reference, this is the amount of rubble I was able to make from just one champagne cork. I intend to scratch build some Osgiliath buildings and ruins in the near future, and many of these chunks will come in handy....

Thank you for reading! Hopefully this little tutorial was useful in some way.

Sunday, December 1, 2013

1st Annual Turkey Shoot!

It was Thanksgiving and Mordecai was told to "go get a turkey." Seemed simple enough...

So begins the rules for Turkey Shoot! It's a one person game in which the player assumes the role of a Pilgrim who, as the name suggests, has to shoot a turkey for dinner.

Yes. It's a Thanksgiving wargame!

After stumbling across these rules about two months back, I knew I wanted to make it a new Thanksgiving tradition. I rushed to find suitable models, which was more of a challenge than you might think. But after scrounging the internet for a while I found exactly what I needed. The turkey was completed with plenty of time to spare, as well as some of the necessary terrain. The Pilgrim, however, was put on the back burner due to school and so I didn't have a chance to finish him before Thanksgiving. But that sure didn't stop me from playing!

So without further ado, I give you the 1st Annual Turkey Shoot!


Mordecai was walking through the woods with his musket at the ready. There has to be a turkey out here somewhere, he thought to himself. The Pilgrim had been at it for hours and was about ready to turn back when he came upon a clearing and saw a very welcome sight...


A turkey! Unfortunately, however, the bird sensed Mordecai's presence and began to scurry away.


To his good fortune, however, the turkey emerged from behind the trees just a few feet away from the Pilgrim. Mordecai couldn't believe his luck! With a clear shot, he leveled his musket, took careful aim, and fired.


The powder flashed and a satisfying crack filled the air. The turkey was knocked over and Mordecai smiled to himself. But to his disbelief, however, the turkey got up immediately took flight. 


Again, however, the bird stopped just a few feet away from the Pilgrim. After quickly reloading, Mordecai fired another shot.


Sulfuric smoke again fired the air, but this time Mordecai completely missed. The turkey took flight and vanished from sight.

Looks like Mordecai and his family wouldn't be getting turkey tonight after all...

Sunday, November 3, 2013

"Many of those trees were my friends!"

Wargaming terrain is something I've never really done a whole lot of. I suppose I've never really had the interest or wherewithal to work on it until now. But after seeing what awesome work my friend Ben has done with trees (here and here), I've been inspired to steal the idea try it out for myself.

Here are the results!


The project started off with a pack of Woodland Scenics evergreen trees and round wood bases from Michaels. After sanding the edges smooth, the "trunks" were glued to the base, which in turn was coated with Golden's coarse pumice gel (I love this stuff!). I managed to find some twigs in the back yard that looked like fallen branches, so they were added to the base as well. Everything was allowed to dry overnight before priming.

I then coated the "dirt" with a dark coat of brown paint, which was then drybrushed with a lighter color. The grass was then added and the whole thing was sprayed with a sealer. The trees were then finally glued into the stumps, and everything was good to go!


Here are the trees in comparison to a 28mm Warlord Napoleonic Polish Vistula officer. Pretty good, if I do say so myself!


Overall, this was a fun and quick little project. I can't wait to do some more of these in the very near future! They'll be done with different styles of trees to add a bit of variety.

Tuesday, October 15, 2013

Civil War Medical Diorama: Part II

Things are progressing on the diorama!

I hit Michaels yesterday before class and picked up some parts for the base. Since the dimensions of the display case are a bit odd, I had to assemble five different pieces of wood in order to get the needed size. Elmer's Wood Glue is holding it all together quite well, but to be safe I also put some foam core underneath to add a bit more stability. Then came the fun part: letting it all dry overnight.

Wood glue was liberally used to connect the boards. But after watching reruns of "the Red Green Show" on YouTube, though, I think duct tape would've also worked.

Having let the glue set for 24 hours, I picked the project up again today. I went about attaching a ReadyGrass vinyl mat from Woodland Scenics. Worried that the spray adhesive wouldn't be enough to keep it from rolling up and/or peeling, I also used a staple gun to secure things. These staples will eventually be covered up by figures and other bits of terrain.

MORE STAPLES!!!

The base will installed in the exhibit room this coming weekend, and all the figures will be placed in the following weeks. The exhibition is set to open at the end of the month, so there's still quite a lot of work that needs to be done (and on top of school and work commitments to boot). I'm already exhausted just thinking about it all.

Also, our dining room table is a mess. But thankfully my girlfriend is very understanding and is letting me keep it like this for a bit longer. It's easier than continually taking the paints out and then putting them away again after a few hours.


Well, that's all for now! I'll try to get a post up about my latest figures some time tomorrow morning. Please keep checking back for updates, and thank you for looking!