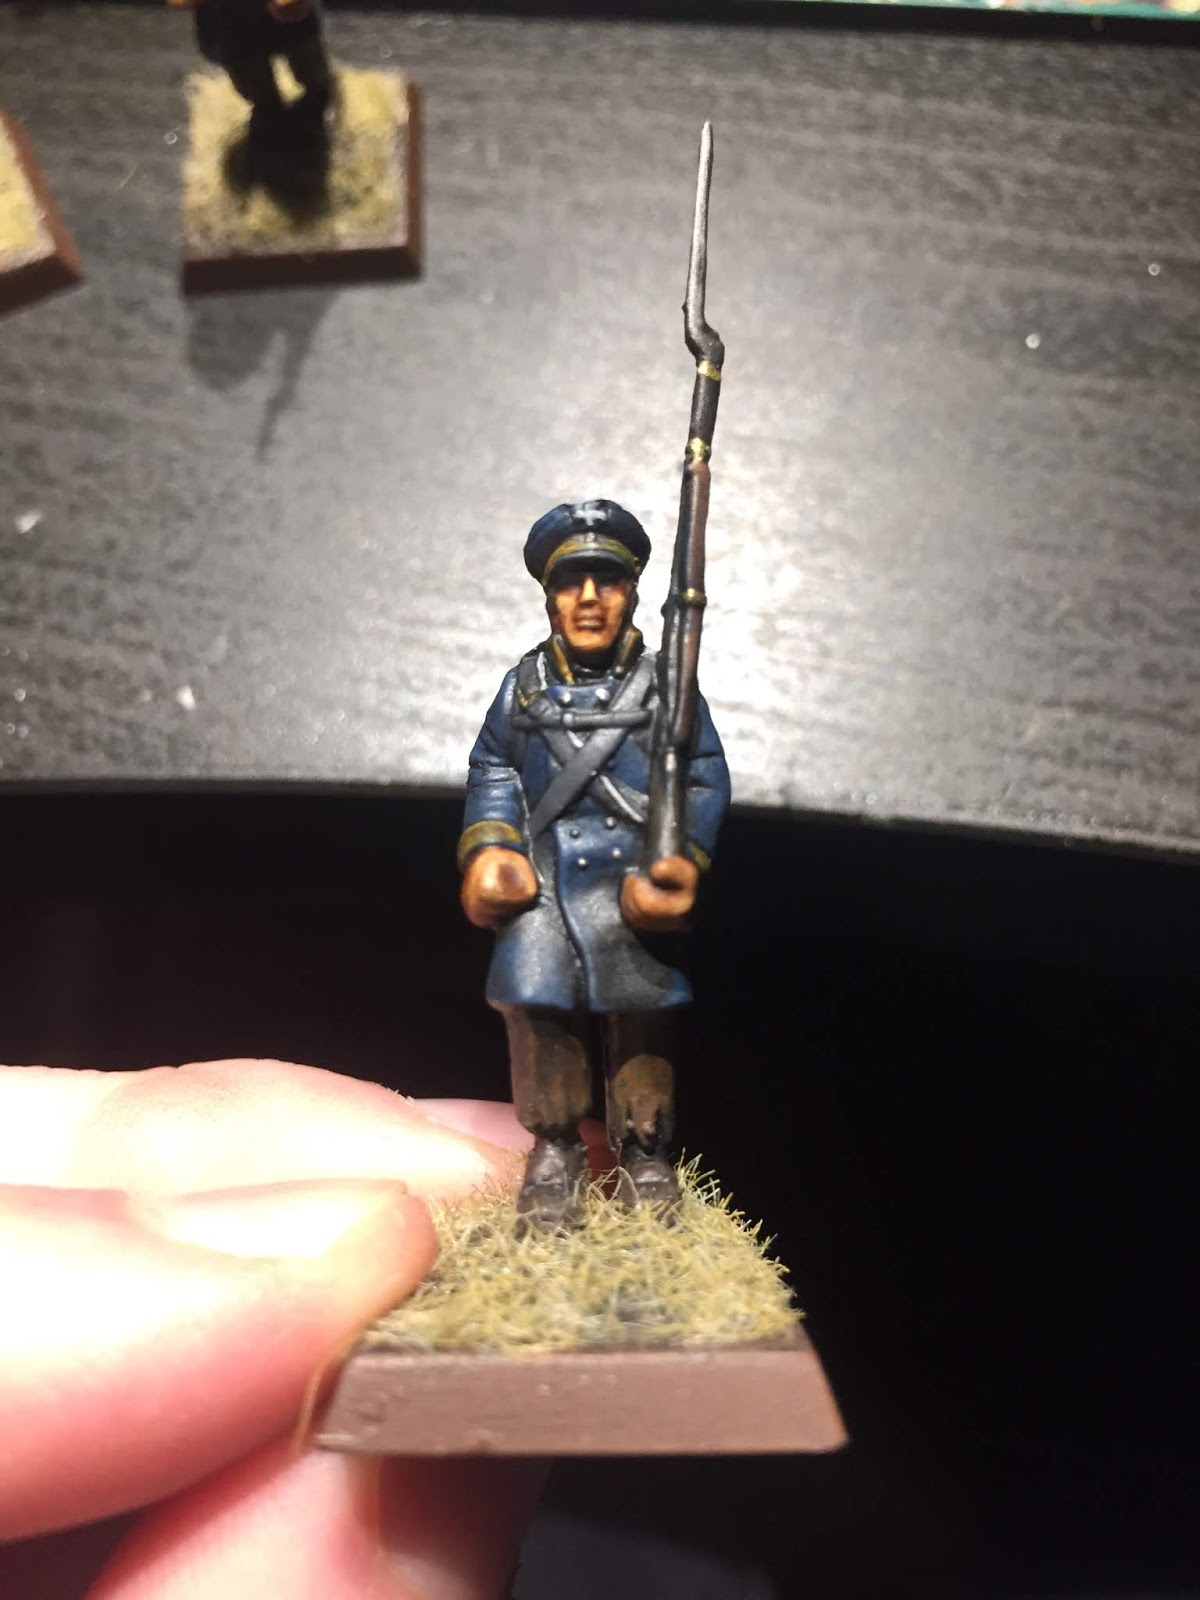
Translate

Monday, January 28, 2019

Norwegian Gem

Ahoy folks!


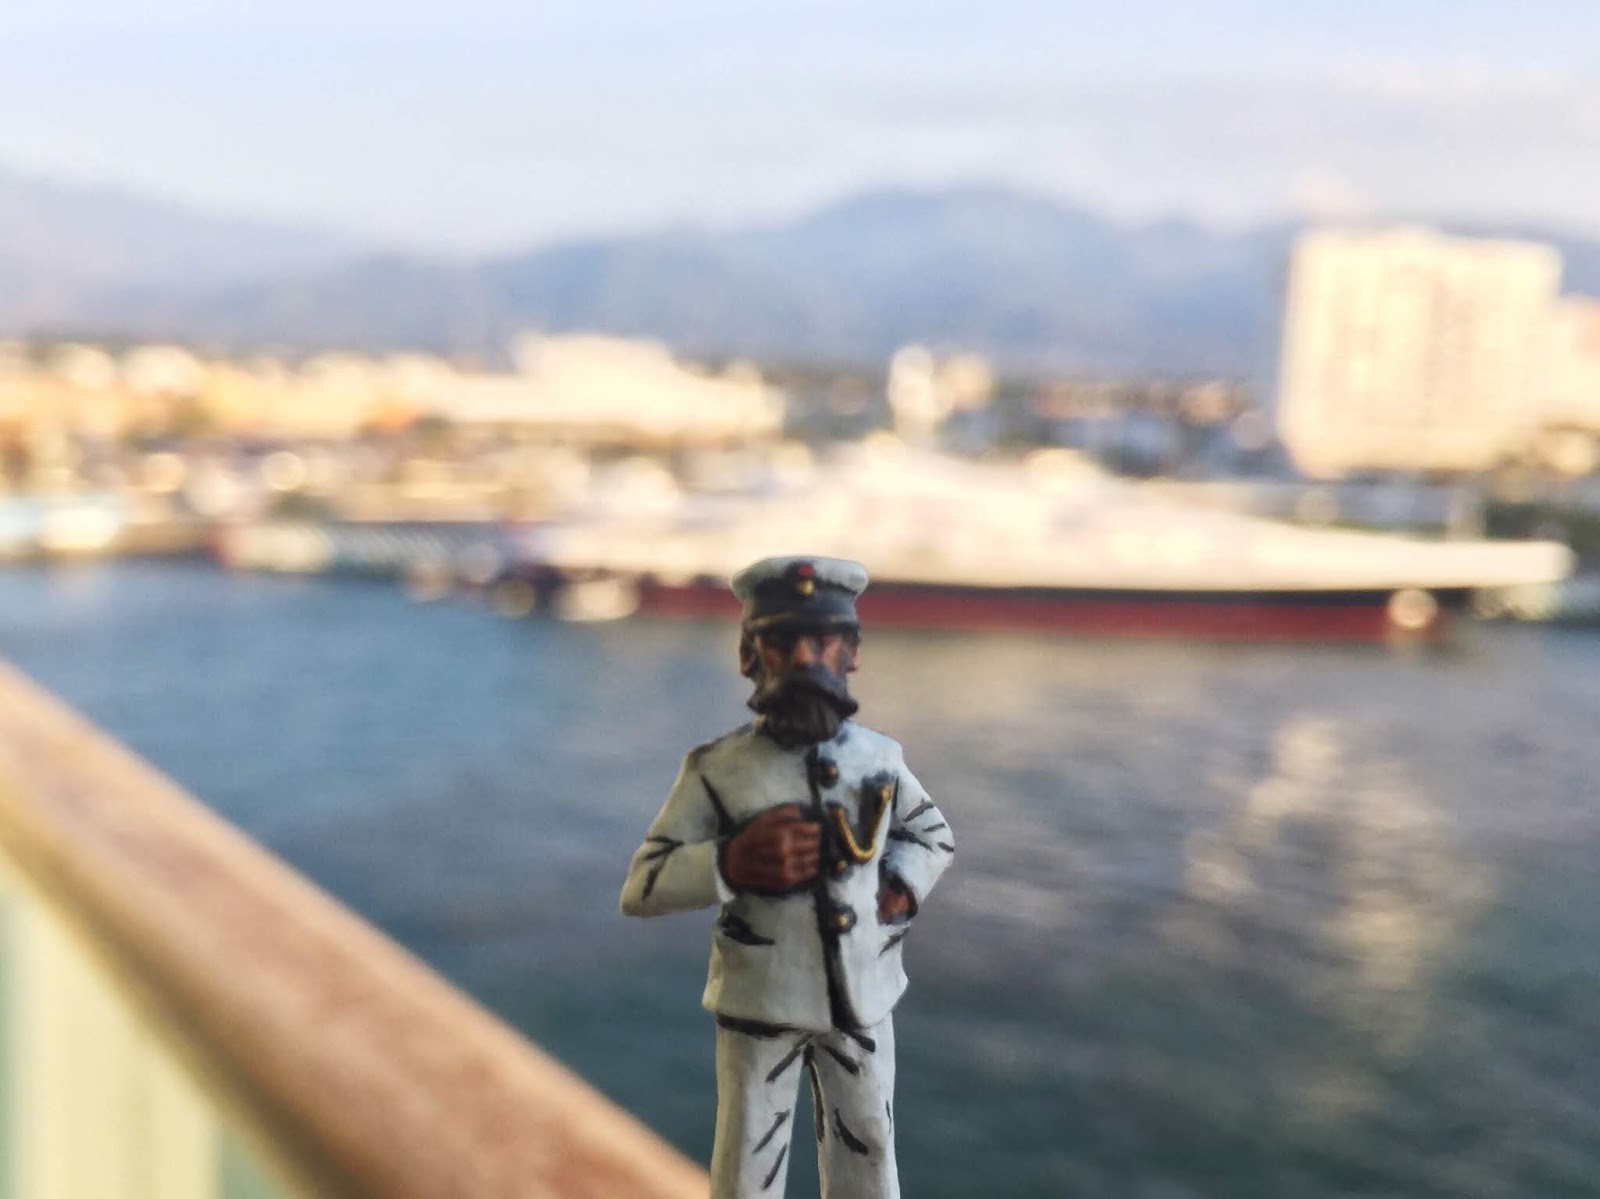
The day after the wedding aboard the Queen Mary, my wife and I embarked on a 7-day cruise to the Mexican Riviera aboard Norwegian Gem. Neither of us had been on a cruise before and it was the time of our lives! I was able to get a few shots of the Captain around the ship, but was paranoid the entire voyage that I'd accidentally drop him overboard. The above photo was from our first full day at sea.


Our first port was the lovely city of Puerto Vallarta. We went zip lining and I didn't die (which is something that I thought was surely going to happen).

I realize now I didn't get a shot of the Captain at our next port, which was Mazatlan. None of the shore excursions looked too exciting so we stayed aboard a bit longer than most and checked out an independent craft brewery just a few blocks away from the port. Definitely recommended! 


Our final port was Cabo San Lucas. We did a whale watching cruise and weren't disappointed! At one point we found ourselves in the midst of a dolphin pod and were surrounded by no less than 30 of them! It was sooo cool!


Also, here's a lovely shot of the Gem from the whale watching cruise trip.


Not a photo of the Captain, I know, but this was one of the most incredible sunsets that I've even seen. It also happened to be from our last night aboard.


Early the last morning, just as the ship was coming into the Port of Los Angeles, I was able to quickly take the Captain for a few photos in areas that were normally packed with people.


We also met the real captain, too! Captain Marin was kind enough to invite us to his VIP reception on the second night after I gifted him a book about the Queen Mary with a note saying how excited we were to be aboard the Gem for our honeymoon.


Of course this brief description and photos don't do the trip justice. But I think I'll make it a tradition from here on out. My wife and I have already booked a cruise for our 1st Anniversary. You can bet that the Captain will be coming with us!

Sunday, January 20, 2019

The Queen Mary

Ahoy everyone! 

It was a busy few days (what with the whole getting married thing and all) but I managed to snap a few shots of the Captain around the Queen Mary! 


Sunday, January 13, 2019

The Love Boat(s)

Greetings everyone!

Next week I’m getting married aboard the Queen Mary in Long Beach, California! For those who may not be familiar, she’s a British ocean liner that saw service from 1936 to 1967 with the Cunard Line. The ship was also a troop transport during World War II and transported thousands of soldiers to Europe (my Great Uncle Howard among them). Upon her retirement, the City of Long Beach bought the Queen Mary and turned her into a hotel and tourist attraction. I myself served as a tour guide aboard her from August 2009 to December 2012.


The day after the wedding, we’re embarking on a 7 day cruise to the Mexican Riviera aboard the Norwegian Gem. We'll have three full days at sea and three stops. It should be a blast!


But what does this have to do with miniatures, you may ask?

I finished a ship’s captain figure specifically for the ship-theme we have going on for our wedding and honeymoon! We’ll be taking photos of him around the Queen Mary, the Norwegian Gem, and our ports of call. Because why not? 


Initially a Darkest Africa Belgian command figure from Foundry, I painted him up as a ship’s captain instead. I've had the figure for probably 15 years or so and was happy to finally do something with him. The base was made about 10 years ago from coffee stirrers to simulate decking. As happy as I am with how he turned out, it only confirmed to me that painting white is not fun. 

I used white Vallejo surface primer instead of my usual black gesso and was happy with the result. This was also the first time that I've ever pinned a figure, which was considerably easier than I thought it'd be. I also used some Vallejo gloss varnish on the shoes to give them that "spit and polish" look. The recess lining is something else I don't usually do, but in this case I think it really makes the figure pop. I probably should have used a lighter grey, but I do tend to like vivid contrast in my figures (for the most part). 

Stay tuned and see how and where the Captain shows up!

Tuesday, January 8, 2019

3rd Battalion, 4th Silesian Landwehr Regiment Drummer

I finished off my 3rd Battalion drummer last night, which means his Dullcote is finally dry. So he’s finally ready for photographing!


I have to admit that I’d been putting him off for some time. In all my years of painting I’d never painted a drummer before and was agonizing strategizing over the best way to paint him up. Like my officers and NCOs, I went the extra step and gave him a bit of highlighting on the coat and trousers. Figured that eyes are going to be drawn to him so I might as well go the extra mile.

He also ties the battalion together quite nicely!


So with that, the 3rd Battalion of the 4th Silesian Landwehr Regiment is done! It only took about 2.5 years is all. 

Now moving on to the 1st and 2nd Battalions of the 14th Silesian! My goal is to have at least one of them done before the shutdown ends and I go off to my wedding and honeymoon (which is 1.5 weeks away...ack!!).

Sunday, January 6, 2019

"My sword, I say!"

Another Prussian Landwehr update! Just when I think I'm finally done with the 3rd Battalion, I notice something that I need to go back and fix. It's happened like three times in the past few weeks and will probably happen again. 

When I started painting my Landwehr back in 2016, I decided to give them black crossbelts. On this particular figure, I noticed something the other night. One belt attaches to the cartridge box on his right side. And the other?


There's nothing for his second belt to attach to. 


I went to my display case and double checked 3rd Battalion: I had eight versions of this figure without anything on the belt. Now, the figure sprues included a few swords, but sadly most of them have gotten mixed up and lost over the years. What ones I did have unfortunately kept breaking apart when I was cleaning them up with my X-acto knife.

So I sat and thought. 

I remembered that I have a ton of unused Early French Line Infantry sprues from Warlord! These came with the Polish Vistula Legion sets, but since I only needed the metal heads (another project that I'll get to someday) I therefore have plenty of extra bits. As you can see below, the grenadier and voltigeur knapsacks have swords suspended off of them. This was perfect because the Landwehr used a ton of French gear in 1813 due to supply shortages. Perfect! So I decided to go for it.


So I carefully clipped the swords off, which really wasn't tough at all.


Then I primed the swords in black gesso as is my style. I didn't want to glue them onto the figures first and then prime because I didn't want to run the risk of ruining their existing paint jobs.


Once the gesso was dry, the swords were painted accordingly (yet to be added here is the brass paint for the hilts and tips).


Actually gluing the swords onto the figures was nerve-wracking. I had to be extra careful on this step....otherwise I'd run the risk of ruining a perfectly good figure. Thankfully everything worked out just fine! Once the glue was dry, I did some touch ups and applied a black wash over the swords.  


Yes, I know the sword knots are sticking out at a slightly weird angle...but I'm telling myself that it's due to the momentum from marching. I'm actually really happy with this and surprised that this worked as well as it did! It adds a bit of variety and represents the common practice of using captured French equipment. I'm definitely going to repeat this on subsequent battalions. 

Thanks for reading! See you next time!

Tuesday, January 1, 2019

Happy New Year!


Happy New Year! May 2019 be a great year for everyone! I know it certainly will be for us, as Teresa and I are getting married in about three weeks aboard the Queen Mary in California. Neither of us can wait!

Oh yeah, and here are the first Prussian Landwehr figures I’ve finished since late January 2017! 😁 From left to right, they’re metal figures from Calpe, Warlord, and Front Rank. I wanted to add a little variety since the bulk of 3rd Battalion are the same three plastic Warlord poses over and over again. The battalion’s drummer has been basecoated and shaded, so I’ll hopefully be finishing him up within the next few days. 


Meanwhile, work on the other battalions goes on....